
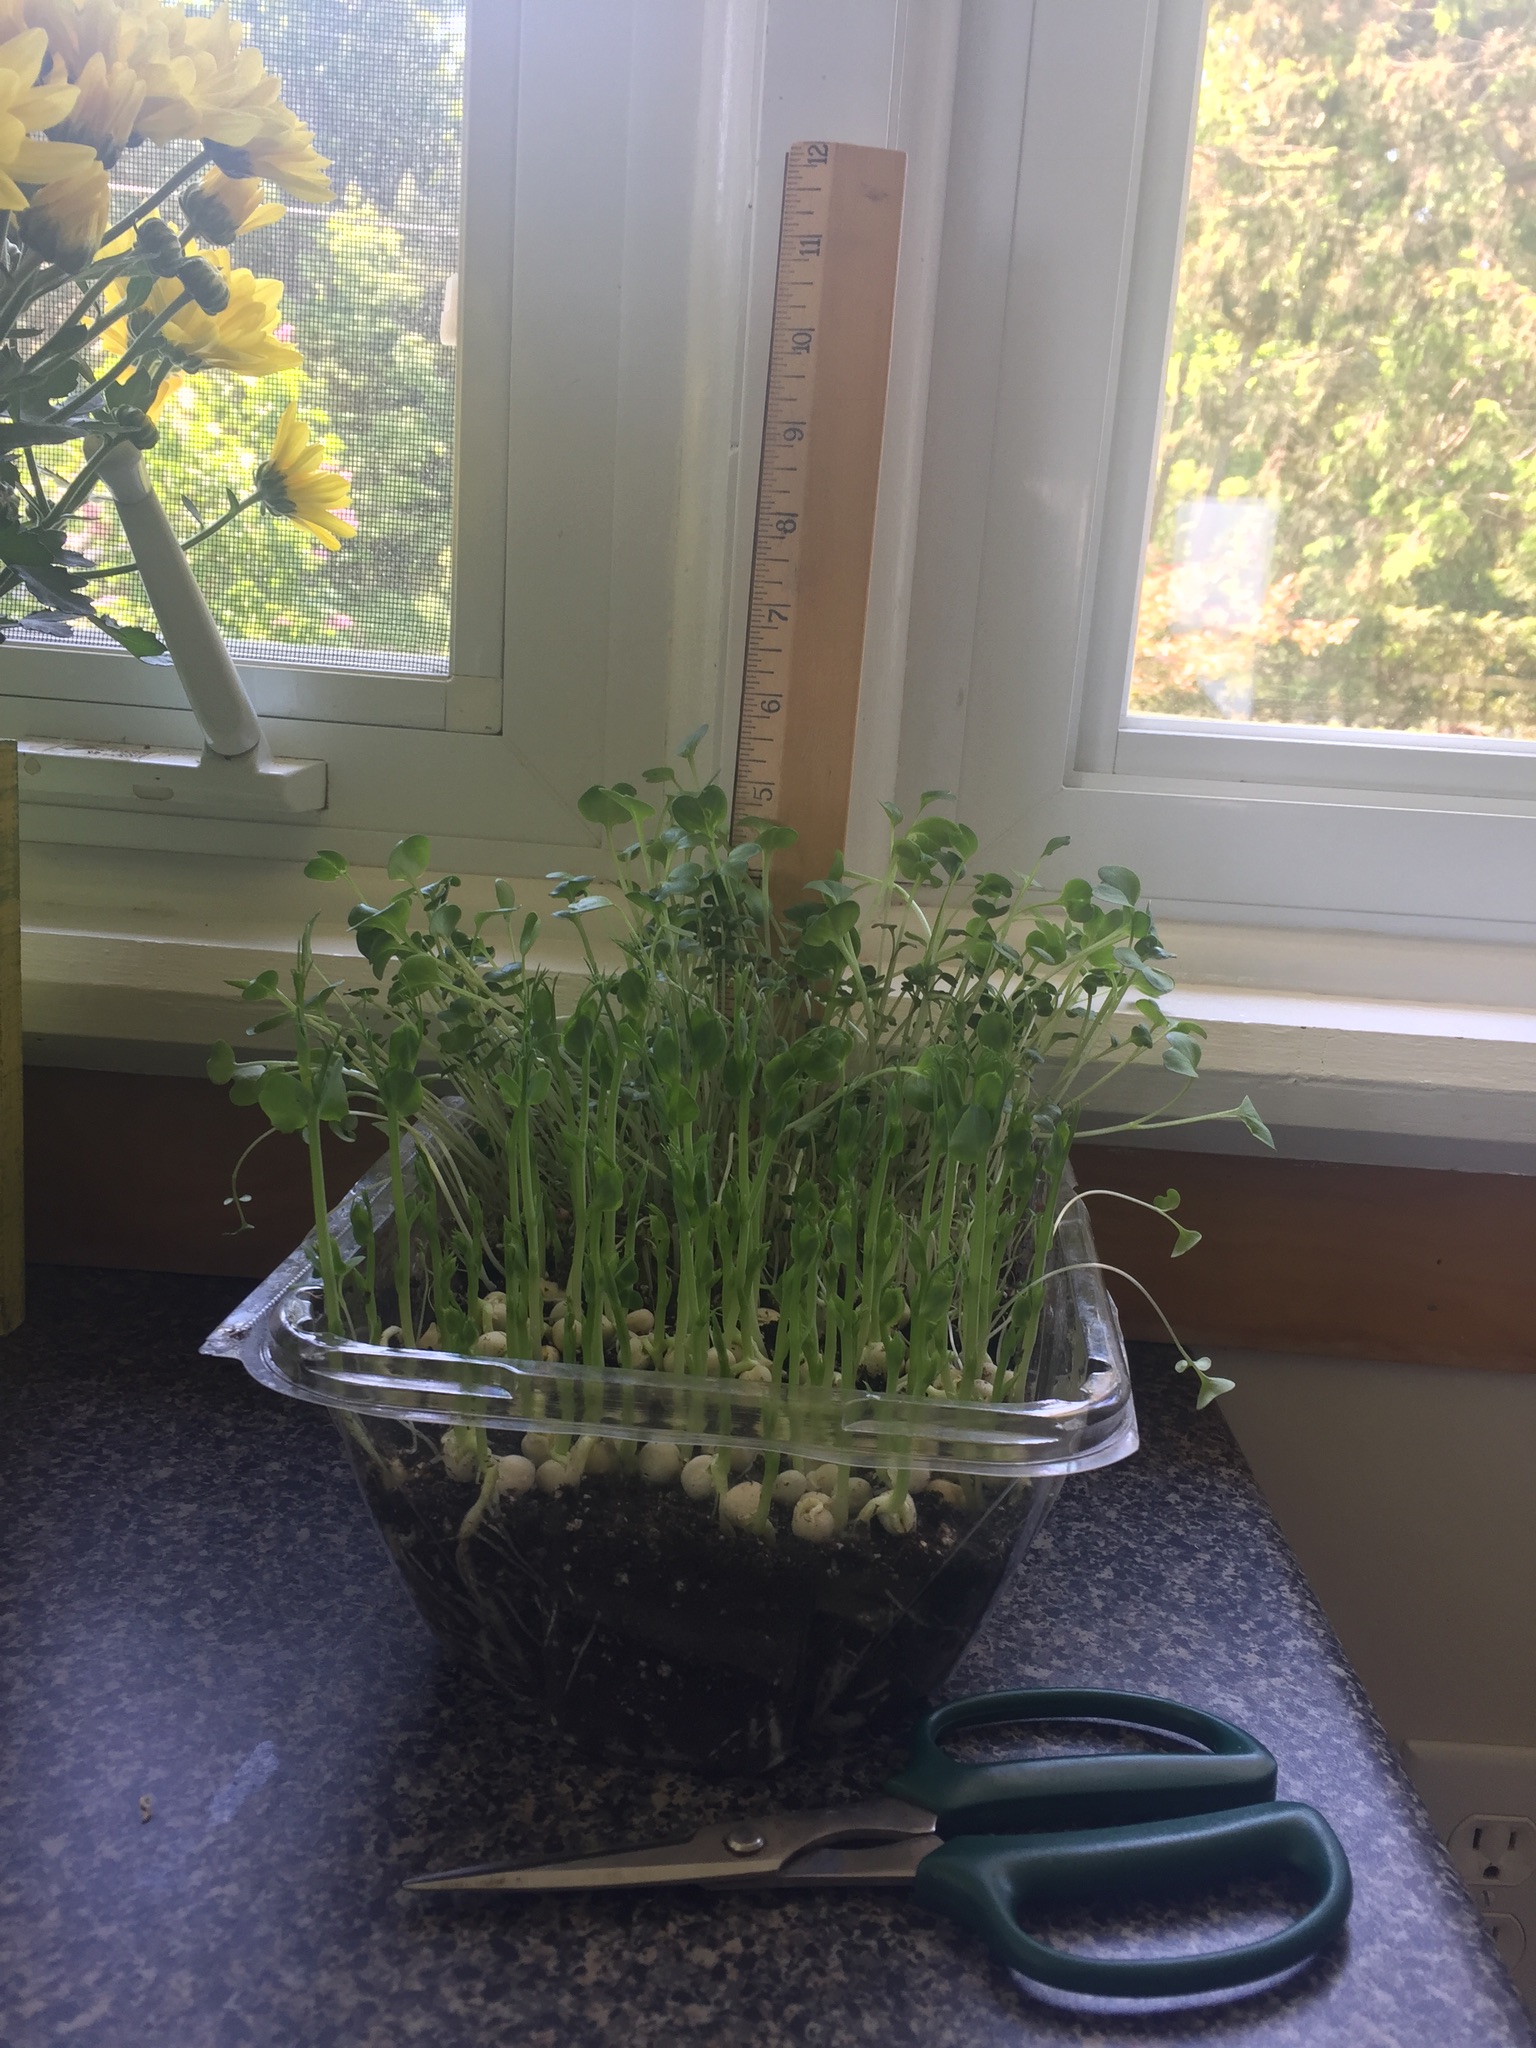
 I have recently discovered how easy it is to grow microgreens at home. The process is simple and the results are rewarding. The microgreens pictured above are currently growing on my kitchen counter. The pea shoots in the foreground have been harvested once already and are sending up their second set of shoots. The shoots in the background are grown from mixed salad seeds. They are ready to harvest now. I use sharp shears to cut the shoots . This avoids stems from bruising and turning brown at the base.
Simple Steps:
1. I start with a clamshell container such as the ones that lettuce is purchased in. It is important that it is a container without holes in the bottom. Fill the container about 3/4 full of good quality potting soil. I use approximately one cup of water to wet the soil. The soil must be damp but not soggy. Remember, there are no drain holes! Stir it up and let it sit for a while before you plant the seeds. Do not pack the soil surface down.
2. You can use your choice of seeds. Some suggestions are pea seeds, kale seeds, lettuce seeds, radish seeds, mustard seeds, beet seeds, parsley seeds, celery seeds, the list is endless. It is fun to experiment. I like to do a tray of just pea seeds as I really like pea shoots. I do another container with a mixture of small salad like seeds. You can make up your own mixture using seeds form seed packets purchased from the store or you can find seeds specifically packaged for microgreens available from many seed suppliers. For one lettuce container I use approximately 1 tbsp of pea seeds or 2 tsp of mixed salad seeds. I soak the seeds for 12 hours before I plant them. (Note: I prepare the soil in the container at the same time I set the seeds to soak, leave everything over night and then plant up the soaked seeds the next morning.) Be sure to drain the seeds before planting. Soaking gives them a head start in terms of germinating but isn’t absolutely necessary.
3. I put the lid on the container and place it in a dark warm spot for a few days. Check the container daily. When you start to see the yellowish shoots, place the container in a sunny window. In the kitchen is best, as it will be visible when you make a salad or a sandwich or an omelette. If you have children or grandchildren, you will find them cutting a few greens as they walk by, nibbling them like rabbits. They will also love to be part of the growing process!
4. Within a few days, you will have greens ready to harvest. When they are ready for harvest, the seeds will be displaying their first true leaves. The peas shoots will be about 3 to 5 inches high. The greens from tinier seeds may be shorter when harvested. After cutting, the seeds will reshoot for three of four times. Use a spray bottle to keep the surface of the soil moist. You will probably need to spray the greens at least once a day. When the soil looks to be full of roots and the seeds are no longer putting up fresh shoots, you can compost the soil and spent seeds and start over.
This is such a simple process. It has become part of my routine. I usually have 3 or 4 containers going at one time. All at different stages of development. It is fun, easy and healthy.